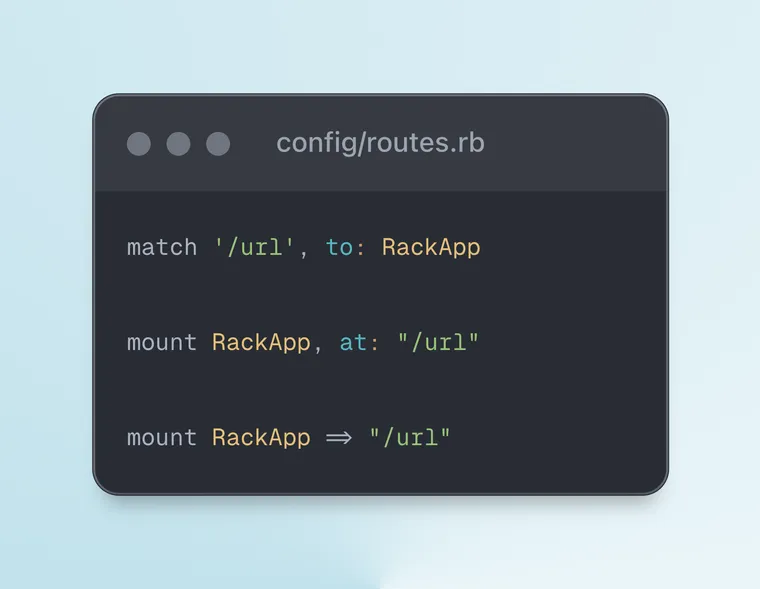
TL;DR: You can route an incoming HTTP request to a valid Rack endpoint using the following syntax:
match '/url', to: RackApp

# OR

mount RackApp, at: "/url"

# OR

mount RackApp => "/url"
Let's dig in to learn why, what, and how. This is what we'll learn in this post:
- Why You Want to Route to a Rack App
- How to Route to a Rack Application
- Receiving Requests at Root of Rack App
- Standard Rails Routes are Rack-Compliant
- You can Use a Lambda as a Route Handler

Why You Want to Route to a Rack App
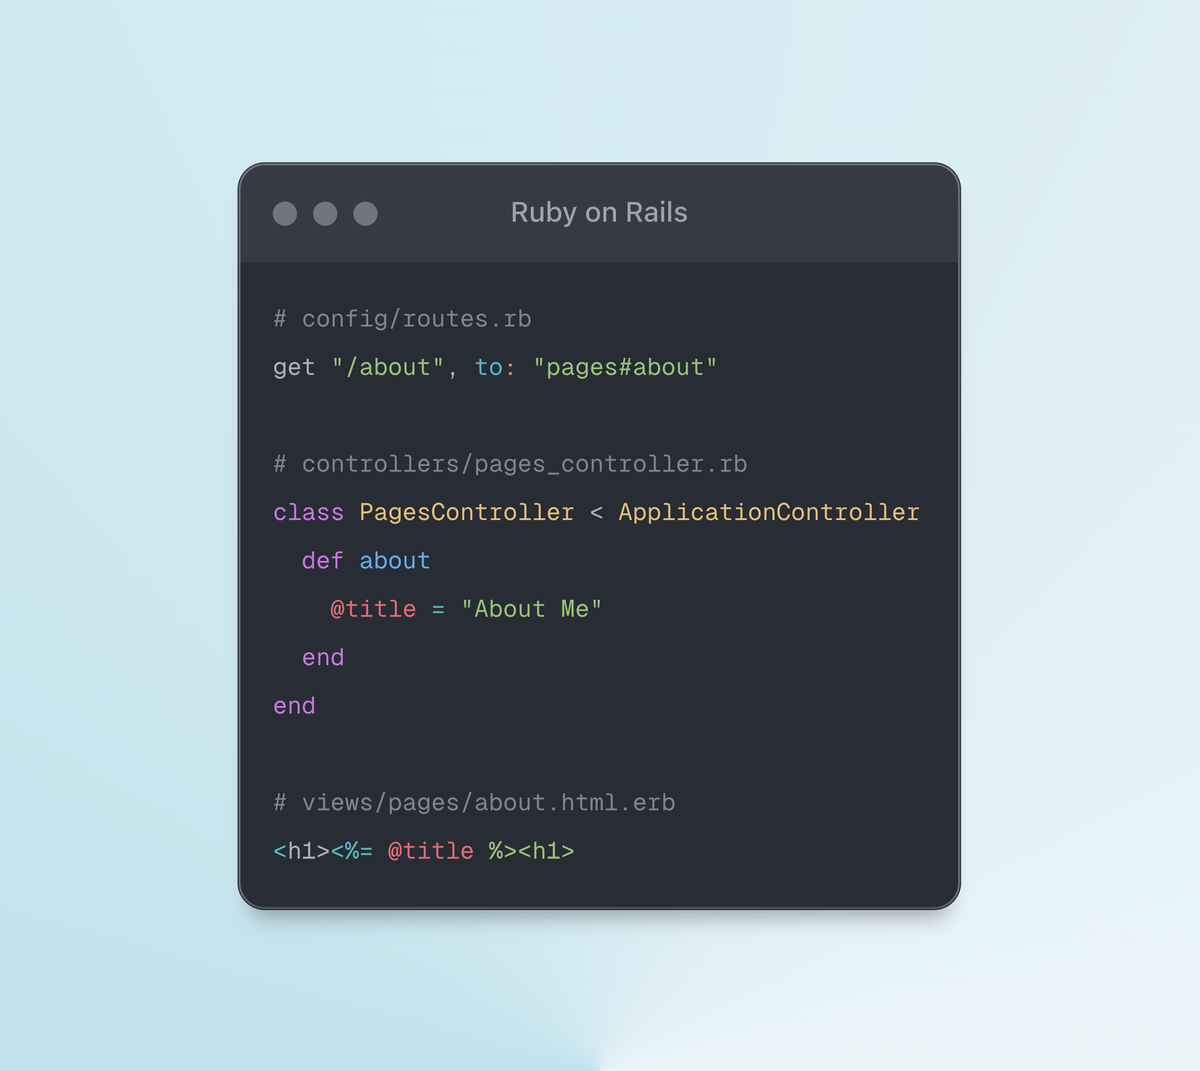
We know that the Rails router can send an incoming HTTP request to an action method on a controller class. For example, the following route dispatches the request to /profile to the profile action on the PagesController class.
# config/routes.rb
get "profile" => "pages#profile"
Sometimes, you may want to route a particular URL (or a set of URLs) to a separate application within your project. A typical use-case for this application is to build a simple UI that provides functionality separate from your core Rails application. This sub-application is well-isolated from the rest of the codebase, designed specifically to accept web requests.
For example, imagine you're writing a gem and you want to expose a web UI for the users of your gem. In this case, you could create a simple Sinatra app in your gem and ask the users to mount this Sinatra application (which is valid Rack app) on a particular URL.
Hmm... Does that remind you of something? Something that you use everyday in your Rails applications to process background jobs and view the job status in a web UI that looks nothing like your application?
Yes! The Sidekiq gem uses this exact pattern to display the Sidekiq web UI, which shows the information about the background jobs in the browser. It's a Sinatra application within the Sidekiq gem, and contains code that's well-isolated and separate from the core Sidekiq functionality. Hence, it makes sense to mount this web UI as a separate application.
Here're the instructions on mounting Sidekiq web UI in your Rails application.
# config/routes.rb
require 'sidekiq/web'

Rails.application.routes.draw do
  # mount Sidekiq::Web in your Rails app
  mount Sidekiq::Web => "/sidekiq"
end
We're instructing the Rails router to dispatch all requests to the URL /sidekiq to the Sidekiq::Web class, which is a valid Rack application, because it satisfies the Rack interface: a call method that accepts the HTTP request environment and returns an array containing status, headers, and the body of the response.
# lib/sidekiq/web.rb

module Sidekiq
  class Web
    def self.call(env)
      # [status, headers, body]
    end
  end
end
How to Route to a Rack Application / Endpoint
The most basic way to route an incoming HTTP request to a Rack application is to use the match method on the Router.
# config/routes.rb
match '/url', to: RackApp, via: :all
Here, RackApp is a valid Rack application class. Typically, you'd create this class in the lib directory of your Rails project. The via: :all option tells the Router to match all verbs like GET, POST, etc. to this route, and the Rack application decides which route to handle.
Let's try this out to build our own fake Sidekiq web UI. In a fresh Rails project that's not using Sidekiq, add the following route in the config/routes.rb file.
# config/routes.rb
match '/sidekiq', to: Sidekiq::Web, via: :all
Next, create a sidekiq/web.rb file in the lib directory, with the following code.
# lib/sidekiq/web.rb
module Sidekiq
  module Web
    def self.call(env)
      [200, {}, ["Sidekiq Web UI"]]
    end
  end
end
Verify the route is pointing to your Rails application by running the following command in the terminal:
$ bin/rails routes -g sidekiq
 Prefix   Verb  URI Pattern          Controller#Action
sidekiq         /sidekiq(.:format)   Sidekiq::Web
Launch your Rails application and visit http://localhost:3000/sidekiq URL. You should see this screen.

It means Rails is routing requests to /sidekiq to our rack application.
Receiving Requests at Root of Rack App
With the above route syntax, the route remains unchanged in the receiving Rack application. That is, the Sidekiq::Web class receives the request at /sidekiq, and not /.
What if you want to receive all the requests at the root path on your Rack application?
To have your Rack app receive requests at the root path, use the mount method. Check this out.
mount Sidekiq::Admin, at: "/admin"

# OR

mount Sidekiq::Admin => "/admin"
Let's find the route it created:
$ bin/rails routes -g admin
Prefix    Verb    URI Pattern     Controller#Action
                  /admin          Sidekiq::Admin
Finally, add the Rack endpoint:
# lib/sidekiq/admin.rb
module Sidekiq
  module Admin
    def self.call(env)
      [200, {}, ["Sidekiq Admin UI"]]
    end
  end
end
Launch your Rails application and visit http://localhost:3000/admin URL. You'll be greeted with the text: "Sidekiq Admin UI".

The main difference in this example vs. the previous one is that the Rack application receives the incoming request at /, not /admin. You can verify this by inspecting the env["PATH_INFO"] value in the call method. I'll leave this as an exercise to you.
One last thing. As with all convenience methods, mount uses match internally, so you can use all the options you can with match. For example, if you want to name the route, pass the :as option.
# config/routes.rb
mount Sidekiq::Admin, at: "/admin", as: "sidekiq_admin"
This will generate the sidekiq_admin_path and sidekiq_admin_url helpers which can be used to navigate to this mounted app.
Standard Rails Routes are Rack-Compliant
Did you know that a typical Rails route, which points to controller#action also expands to a valid Rack application? (P.S. I didn't know this until yesterday.)
# config/routes.rb

get "about" => "pages#about"
Don't believe me? Open the Rails console and run the following code (assumes you have a PagesController class with the profile action).
> PagesController.action :profile
#<Proc:0x00000001284b7d68 .../lib/action_controller/metal.rb:290 (lambda)>
To learn more, check out this post: How a Ruby Method Becomes a Rails Action

You can Use a Lambda as a Route Handler
Following route will invoke the provided lambda whenever the application receives a request on the /up endpoint.
# config/routes.rb
get '/up', to: ->(env) { [204, {}, ["success"]] }
To learn more, check out this post: Inline Routes in Rails

That's a wrap. I hope you found this article helpful and you learned something new.
As always, if you have any questions or feedback, didn't understand something, or found a mistake, please leave a comment below or send me an email. I reply to all emails I get from developers, and I look forward to hearing from you.
If you'd like to receive future articles directly in your email, please subscribe to my blog. Your email is respected, never shared, rented, sold or spammed. If you're already a subscriber, thank you.


