We must read other people's code because we have to understand it to get things done. So don't be afraid to read the source, Luke – and follow it wherever it takes you, no matter how scary looking that code is.
- Coding Horror, in Learn to Read the Source, Luke
Reading the source code is one of the best ways to deepen your understanding of a programming language or a framework.
Since Ruby is such a beautiful and aesthetically pleasing programming language, I've found an immense joy in spending hours and hours just reading the Rails codebase and trying to understand how various features that I use everyday are put together by some really smart developers.
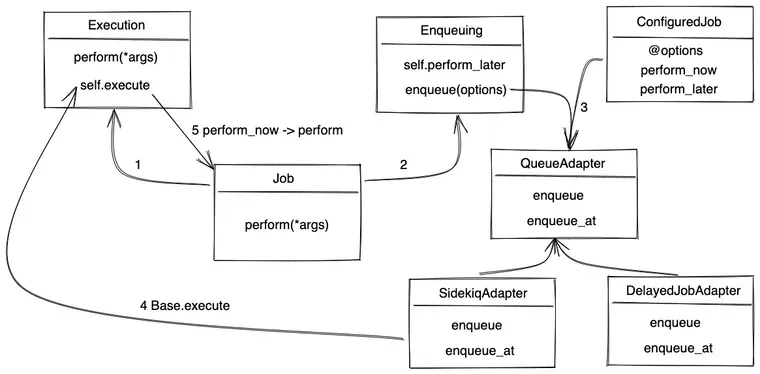
In this article, we will follow the journey of a Rails background job, from its creation to execution. We will learn how a job is configured and enqueued, and how an adapter invokes it. We will also see the different ways to configure a job.

I hope that you will have a much better understanding of the Active Job framework after reading this article.
Sounds fun? Let’s dive in...
Note: To get the most out from this article, I suggest you to clone the Rails codebase on your computer, open it in an IDE, and trace the code execution as you read. Even better, debug and step-through the Rails codebase, examining the state of various variables during the execution.
Here’s a simple job class that inherits from ApplicationJob, which itself inherits from ActiveJob::Base class.
# app/jobs/create_invoice_job.rb
class CreateInvoiceJob < ApplicationJob
  def perform(job_id)
    # logic to generate invoice
  end
end

# app/jobs/application_job.rb
class ApplicationJob < ActiveJob::Base
end
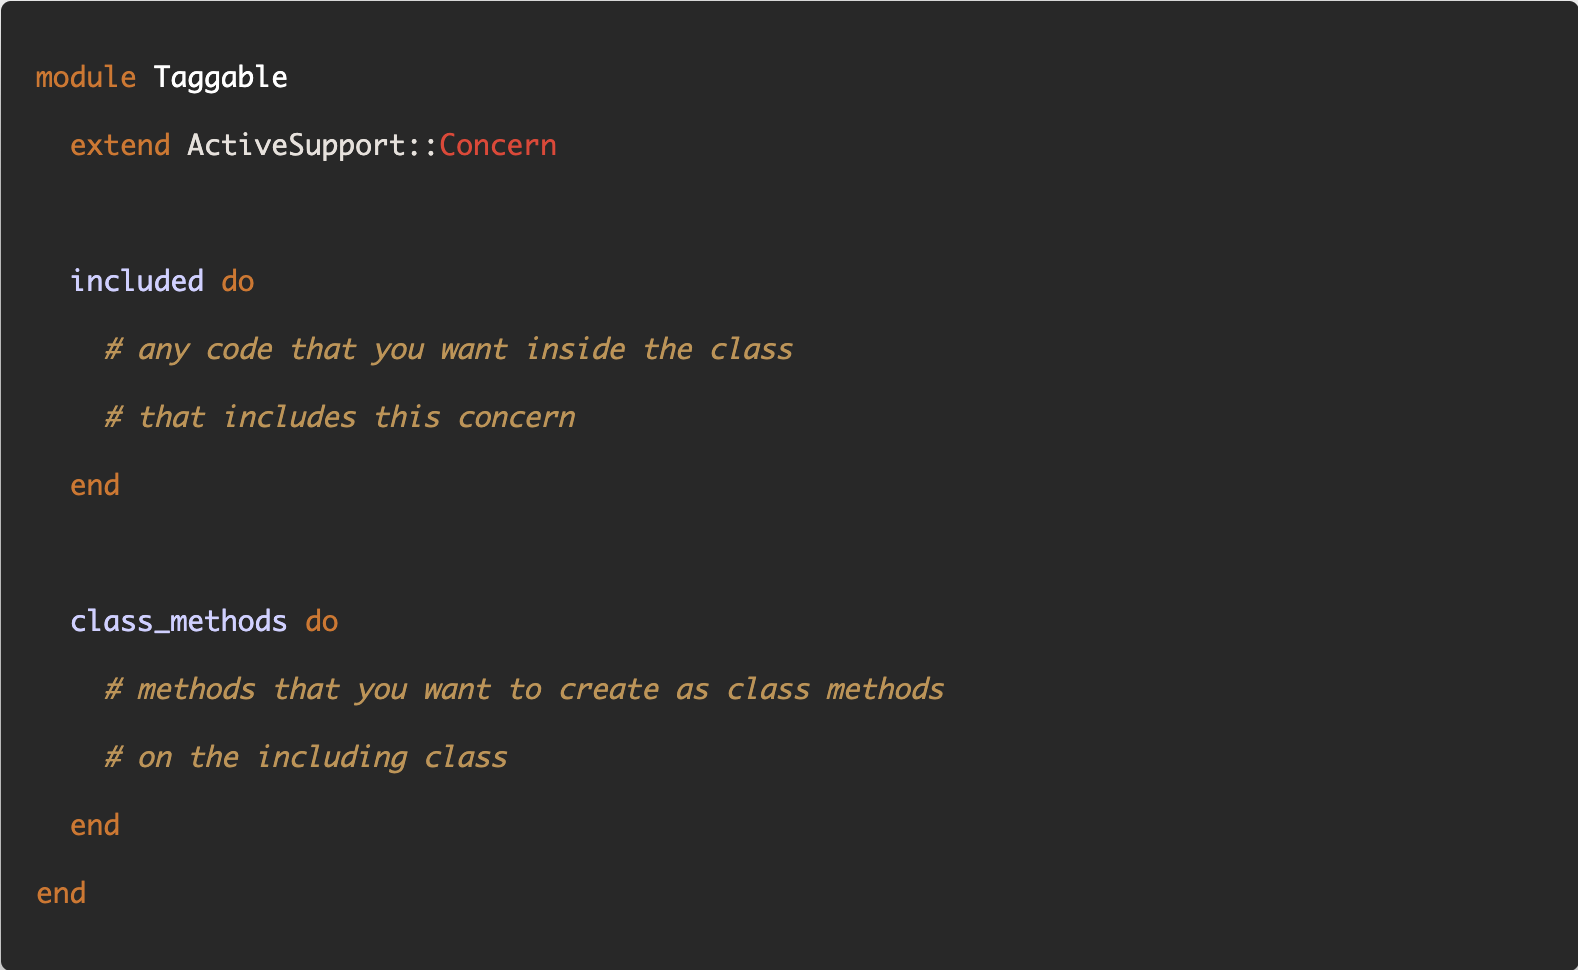
The ActiveJob::Base class includes 12 modules, most of which are Rails concerns, adding instance and class methods on the including class, i.e. ActiveJob::Base class. Due to inheritance, the CreateInvoiceJob class gets all these methods.

We will inspect each module in detail as we study the Active Job API.
# activejob/lib/active_job/base.rb

module ActiveJob
  class Base
    include Core
    include QueueAdapter
    include QueueName
    include QueuePriority
    include Enqueuing
    include Execution
    include Callbacks
    include Exceptions
    include Instrumentation
    include Logging
    include Timezones
    include Translation

    ActiveSupport.run_load_hooks(:active_job, self)
  end
end
Let’s start with the perform method, because that’s all we have at this point in our job.
The perform method in CreateInvoiceJob class overrides the perform method provided by the ActiveJob::Execution concern. It fails immediately, as it expects your concrete job class to provide the implementation.
# activejob/lib/active_job/execution.rb

module ActiveJob
  module Execution
    def perform(*)
      fail NotImplementedError
    end
  end
end
Now you might be wondering, who calls the perform method on your job class? and that's the question we will try to answer in the first part of the post.
In your application, you can enqueue a job using perform_later, which ultimately calls perform on the job.
CreateInvoiceJob.perform_later(job_id)
This is where we'll begin our journey, and trace the path that a background job takes. Let's see what happens when you call this perform_later method.
What Happens When You Call 'perform_later'
The perform_later method enqueues a job to be executed later. It is a class method that comes from the ActiveJob::Enqueuing concern.
# activejob/lib/active_job/enqueuing.rb

module ActiveJob
  module Enqueuing
    module ClassMethods
      def perform_later(...)
        job = job_or_instantiate(...)
        enqueue_result = job.enqueue

        yield job if block_given?

        enqueue_result
      end

      private
        def job_or_instantiate(*args) # :doc:
          args.first.is_a?(self) ? args.first : new(*args)
        end
    end
  end
end
Note: By default, the arguments you pass to the perform_later method must be one of the following types.
String,Integer,Float,BigDecimalNilClass,TrueClass,FalseClass,Symbol,Date,Time,DateTime,ActiveSupport::TimeWithZone,ActiveSupport::Duration,Hash,ActiveSupport::HashWithIndifferentAccess,Array,RangeorGlobalID::Identificationinstances.
The perform_later method returns an instance of the job class queued with arguments, or false if the enqueue did not succeed.
A Job is Enqueued
Now let’s see what the Job#enqueue method is doing. It resides in the same Enqueuing module as an instance method on the job.
# activejob/lib/active_job/enqueuing.rb

module ActiveJob
  module Enqueuing
    def enqueue(options = {})
      set(options)

      self.successfully_enqueued = false

      run_callbacks :enqueue do
        if scheduled_at
          queue_adapter.enqueue_at self, scheduled_at
        else
          queue_adapter.enqueue self
        end
        self.successfully_enqueued = true
      end

      if successfully_enqueued?
        self
      else
        false
      end
    end
  end
end
First, it runs the callbacks for the :enqueue event. Rails will call the before and around callbacks in the order they were set, yield the block (if one is provided), and then run the after callbacks in reverse order.
Inside the block, the enqueue method uses the queue_adapter to enqueue the job.
Finally, if the job was enqueued successfully, it returns the job. Otherwise, it returns false.
Adapters execute the job
At this point, we know how a job gets enqueued by a queue adapter with the perform_later method. However, we still haven’t answered who calls the perform method on the job class, which ultimately executes our job.
For that, let’s look at the implementation of one of the queue adapters. We’ll inspect the inline adapter’s enqueue method to keep things simple.
# activejob/lib/active_job/queue_adapters/inline_adapter.rb

module ActiveJob
  module QueueAdapters
    class InlineAdapter
      def enqueue(job)
        Base.execute(job.serialize)
      end
    end
  end
end
As you can see, the enqueue method receives the job instance we passed in the Job#enqueue method above. Then it calls the execute method on the Base class, passing the serialized job data.
Execute the Job
The Base.execute class method is provided by the Execution module. It performs the following tasks:
- Receives the serialized job data
- Runs the callbacks for the
:executeevent, and yields the block, which - Deserializes the serialized job data to build the job instance, and
- Calls the
Job#perform_nowinstance method on the job instance.
# activejob/lib/active_job/queue_adapters/inline_adapter.rb

module ActiveJob
  module Execution
    # Includes methods for executing and performing jobs instantly.
    module ClassMethods
      def execute(job_data)
        ActiveJob::Callbacks.run_callbacks(:execute) do
          job = deserialize(job_data)
          job.perform_now
        end
      end
    end
  end
end
Okay, we are one step closer, but we still haven’t called the perform method yet.
Let’s inspect the perform_now instance method, which is in the same module. It calls the _perform_job method, a private method defined in the same module.
# activejob/lib/active_job/execution.rb

module ActiveJob
  module Execution
    def perform_now
      # ignoring prior code to keep things simple
      _perform_job
    end

    private
      def _perform_job
        ActiveSupport::ExecutionContext[:job] = self
        run_callbacks :perform do
          perform(*arguments)
        end
      end
  end
end
Finally, we can see that the _perform_job method calls the perform method, passing the arguments.
Now you might wonder where that *arguments is coming from? It comes from the Core module. Using it with the splat (*) operator passes all the arguments to the perform method.
The arguments were initialized with whatever data you passed to the perform_later method. It created a new job instance and forwarded all that data to it.
See the job_or_instantiate method above to refresh your memory.
# activejob/lib/active_job/core.rb

module ActiveJob
  module Core
    # Job arguments
    attr_accessor :arguments

    # Creates a new job instance. Takes the arguments that will be
    # passed to the perform method.
    def initialize(*arguments)
      @arguments = arguments
      # other data initialization
    end
  end
end
Now, we are back to where we started, with the simple job with a perform method. Our job completes when the perform method is executed.
class CreateInvoiceJob < ApplicationJob
  def perform(job_id)
    # Do something later
  end
end
Job Configuration
In the enqueue method above, I promised that we will learn about the ConfiguredJob and the set method later. Let’s do that now.
Before calling perform_later on a job, you can use the set method to configure a job, like this:
# Enqueue a job to be performed tomorrow at noon.
GuestsCleanupJob.set(wait_until: Date.tomorrow.noon).perform_later(guest)
The set class method comes from the Core module. It creates a job preconfigured with the given options.
# activejob/lib/active_job/core.rb

module ActiveJob
  module Core
    module ClassMethods
      def set(options = {})
        ConfiguredJob.new(self, options)
      end
    end
  end
end
All set does is create an instance of the ConfiguredJob class, passing itself (the Job class, i.e. GuestCleanupJob and not its instance, an important distinction), along with any preconfigured options.
You can use the following options:
:wait- Enqueues the job with the specified delay:wait_until- Enqueues the job at the time specified:queue- Enqueues the job on the specified queue:priority- Enqueues the job with the specified priority
Now let's understand how the ConfiguredJob class works.
Configured Job
ConfiguredJob is a very simple class. When created, it saves the options and the job_class, i.e. GuestCleanupJob as instance variables.
It provides two methods, perform_now (to execute the job immediately) and perform_later (to save it for later).
# activejob/lib/active_job/configured_job.rb

module ActiveJob
  class ConfiguredJob
    def initialize(job_class, options = {})
      @options = options
      @job_class = job_class
    end

    def perform_now(...)
      @job_class.new(...).set(@options).perform_now
    end

    def perform_later(...)
      @job_class.new(...).enqueue @options
    end
  end
end
When called, these methods create a new instance of the job using the job_class, and call the Job#set instance method on it. The set method is where we actually set the options on the job instance.
# activejob/lib/active_job/core.rb

module ActiveJob
  module Core
    # Timestamp when the job should be performed
    attr_accessor :scheduled_at

    # Queue in which the job will reside.
    attr_writer :queue_name

    # Priority that the job will have (lower is more priority).
    attr_writer :priority

    # Configures the job with the given options.
    def set(options = {}) # :nodoc:
      self.scheduled_at = options[:wait].seconds.from_now.to_f if options[:wait]
      self.scheduled_at = options[:wait_until].to_f if options[:wait_until]
      self.queue_name   = self.class.queue_name_from_part(options[:queue]) if options[:queue]
      self.priority     = options[:priority].to_i if options[:priority]

      self
    end
  end
end
These options are used when the job is enqueued (see the enqueue method above). Each queue adapter has a different implementation that uses them differently.
For example, here’re a few implementations for various adapters:
queue_adapter.enqueue_at(self, scheduled_at)

# Sidekiq
def enqueue_at(job, timestamp) # :nodoc:
  job.provider_job_id = Sidekiq::Client.push \
    "class"   => JobWrapper,
    "wrapped" => job.class,
    "queue"   => job.queue_name,
    "args"    => [ job.serialize ],
    "at"      => timestamp
end

# Backburner
def enqueue_at(job, timestamp) # :nodoc:
  delay = timestamp - Time.current.to_f
  Backburner::Worker.enqueue(JobWrapper, [job.serialize], queue: job.queue_name, pri: job.priority, delay: delay)
end

# Que
def enqueue_at(job, timestamp) # :nodoc:
  que_job = JobWrapper.enqueue job.serialize, priority: job.priority, queue: job.queue_name, run_at: Time.at(timestamp)
  job.provider_job_id = que_job.attrs["job_id"]
  que_job
end
Setting the Queue Adapter
You can easily set your queuing backend with config.active_job.queue_adapter
# config/application.rb

module YourApp
  class Application < Rails::Application
    # Be sure to have the adapter's gem in your Gemfile
    # and follow the adapter's specific installation
    # and deployment instructions.
    config.active_job.queue_adapter = :sidekiq
  end
end
Or, on a per-job basis:
class GuestsCleanupJob < ApplicationJob
  self.queue_adapter = :resque
  # ...
end

# Now your job will use `resque` as its backend queue adapter, overriding what
# was configured in `config.active_job.queue_adapter`.
Let’s stop before this post gets way too long. We still haven’t explored queues yet, which is quite an important topic, but we will save it for later. For now, I really hope you have a better understanding of the Active Job framework than before you read this post.
Further Reading
If you like reading this article, here're a few more you might enjoy:


That's a wrap. I hope you found this article helpful and you learned something new.
As always, if you have any questions or feedback, didn't understand something, or found a mistake, please leave a comment below or send me an email. I reply to all emails I get from developers, and I look forward to hearing from you.
If you'd like to receive future articles directly in your email, please subscribe to my blog. If you're already a subscriber, thank you.


